fbpx
Garment Steamer Blog

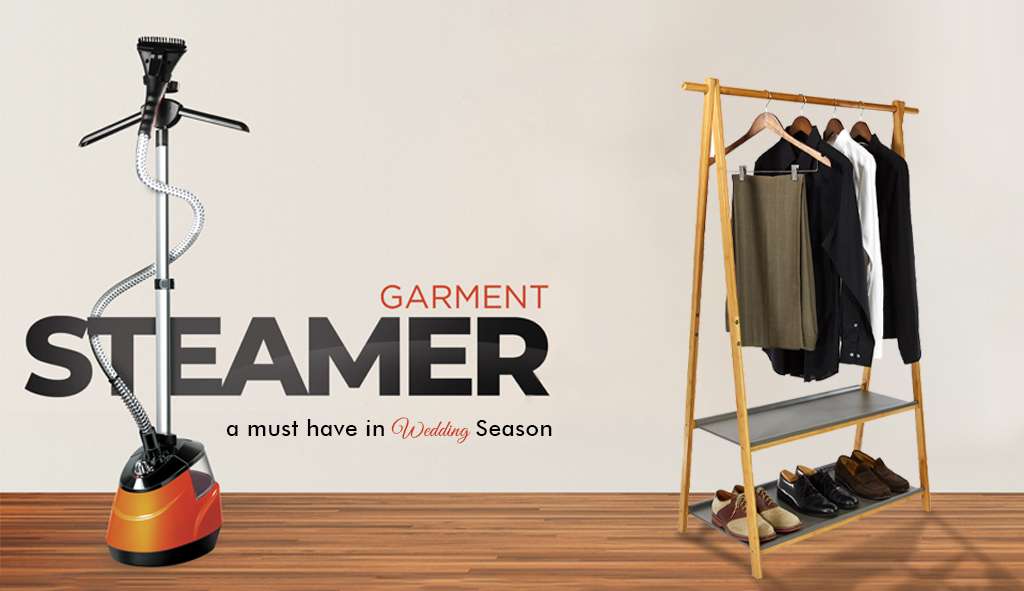
Garment Steamer | A Must-Have in Wedding Season

A Garment Steamer is the foremost option for hassle-free ironing. When it comes to delicate clothing or items that are too large to fit on an ironing board, a garment steamer is the ideal small appliance for swiftly and conveniently removing creases. To remove wrinkles from clothing, a garment steamer employs steam. It is simple to use and does not need any additional tools, unlike an iron which needs an iron stand or a flat solid surface with a piece of cloth. You can quickly and simply eliminate wrinkles from your clothes with a garment steamer without causing any hassle. In this blog, we will discuss a lot about the garment steamer. Keep reading, if you want to know about how to select the best model for yourself and how to use it. 

How to Pick the Best Garment Steamer Based on Your Needs?

You might have looking for an opportunity to upgrade your ironing tools or prepare for an upcoming wedding. In order to choose the finest garment steamer for your purposes, you must take into account a number of things to make sure you purchase the proper one. Here, step-by-step instructions are given to assist you in reaching a decision:

  1. Jot Down Your Needs

First of all, think about how frequently you’ll use the clothing steamer. Is it for routine usage, occasional touch-ups, or particular clothing? Take into account the fabrics you plan to steam. Make sure it’s adaptable enough for your wardrobe because different steamers work best with different types of textiles.

  1. Garment Steamer Types

There are two types of garment steamers available in the market. Portable handheld steamers are great for fast touch-ups and traveling. Larger, more potent standing steamers are ideal for heavy-duty steaming and diverse clothing care.

  1. Output and Power of Steam

 In general, steamers with higher wattages function better. To effectively remove wrinkles, look for a garment steamer with a high enough steam flow rate and wattage.

  1. Heat-Up Period

Faster heat-up times are useful, especially when you have a limited time. Find such garment steamer models that can heat up quickly—typically in a matter of minutes.

  1. Size of the Water Tank

Think about the water tank’s size. Longer continuous steaming without regular refilling is possible with a bigger tank.

  1. Steam Options

Choose a steamer that comes with manual or digital steam settings. For best results, various textiles can need varying amounts of steam.

  1. Accessories & Attachments 

For varied clothing cleaning, see whether the steamer includes handy accessories like brush heads, crease tools, or hangers.

  1. Dimensions and Portability

Think about mobility and storage. Make sure the steamer is simple to store and transfer if necessary. Getting well-pressed, wrinkle-free clothing requires proper steam iron use. 

After buying a garment steamer, some people have difficulty operating it. Mostly, people use such steamers wrongly. For your ease, we will discuss using a garment steamer.

Prior to Starting 

Read the Manual 

Read over the manufacturer’s instructions and safety precautions in the user handbook that is included with your steam iron.

Assemble Your Materials

The clothes you wish to iron, a clean ironing board, and a steam iron are all required.

To prevent mineral accumulation in the steam vents of the iron, fill the water reservoir with distilled or demineralized water.

Preparing the Iron

Set the Iron on a Surface That Is Heat-Resistant

The iron should be plugged in and set down on a heat-resistant surface, such as an ironing board.

Choose the Proper Temperature

Based on the fabric of the clothing you’re ironing, adjust the iron’s temperature dial. Most irons feature temperature options for several types of cloth, including cotton, linen, silk, and wool.

For fragile fabrics, start with a lower temperature setting, and for heavier fabrics, raise it gradually.

Prepare the garment by Ironing

Make sure the clothing is dry and clean. The part you wish to iron should be facing up.

Steam Options

Verify the steam control setting on your iron. You might want to modify the steam amount depending on the cloth. For difficult creases, some irons offer a blast of steam setting.

Sectioned Iron

Start with a single area of the garment, such as the collar or cuffs. To eliminate wrinkles from the cloth, hold the iron over it, push the steam button to release steam, and then press the iron down onto the fabric. Following the fabric’s grain, move the iron in straight, equal strokes.

Don’t push too firmly since this might harm the cloth.

Replicate this for the Whole Garment 

Section by section, work your way through the garment, paying close attention to seams and challenging spots. Use the iron’s edge to make clean lines for pleats and wrinkles. Once the entire cloth has been ironed, hang it up or fold it right away to avoid the creation of new creases.

After Ironing 

Unplug and empty water after ironing:

– Switch off the iron and remove the plug from the outlet.

– To avoid mineral formation, drain any residual water from the water reservoir.

Maintenance and Cleaning

Before cleaning, let the iron cool fully. To get rid of any leftovers, you may clean the soleplate with a moist towel. You might need to routinely clean the steam vents and the anti-calc system, depending on the care recommendations for your iron.

Storage

To prevent damage, store the iron upright and properly wrap the cord. This will help your garment steamer to be prolonged for a lifetime. 

Finding the best garment steamer isn’t that easy. However, Electro Gallery brings you the finest collections of garment steamers at highly affordable rates for you. Get wrinkle-free clothes that will add grace to your personality. 

Contact us to learn more about your desired product now. 

Automatic Washing Machine

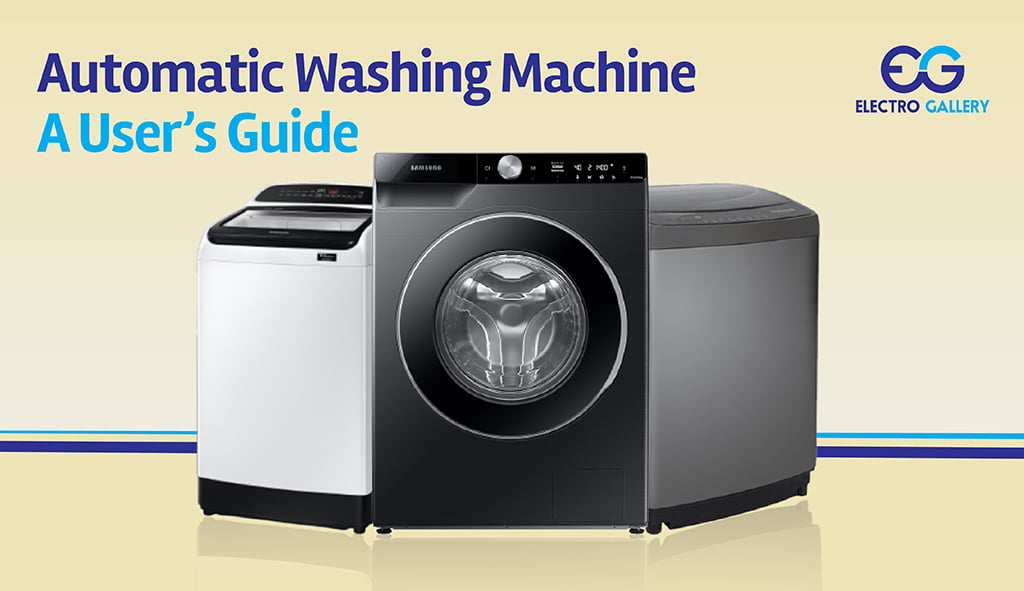
Automatic Washing Machine: A User’s Guide

The washing machine and doing laundry go hand in hand in our daily lives. Some individuals do it every day, while others wash their clothing once or twice a week as part of a diet. However, your consumption may have an influence on the cleanliness of your clothing, the efficiency of your machine, and most crucially, your energy. 

Regardless of your experience level with automated washing machines, you must be certain that you are doing your clothes properly. 

Dawlance, Kenwood, PEL, Samsung, Panasonic, Bosch, Hair, and Super Asia; are some popular names selling the best washing machines in Pakistan. Come with multiple features, they make your laundry easier while giving the best performance. However, some people still think about whether they use the washing machine correctly or not. 

In this blog, you will find a step-by-step guide to using a washing machine.

How to Use the Automatic Washing Machine? 

The automatic washing machine is super easy to use. However, the following information is for you. 

Preparing the Washing Machine for a Wash

  • Find the power cord, then insert it into a grounded outlet.
  • Turn the power switch on. 
  • Verify that the washing machine’s power indicator is on to make sure it is receiving electricity.
  • Ensure that there is no clothing, socks, or other objects in the drum.
  • To avoid potential machine damage during operation, remove anything that you think might harm the machine during operation. 
  • Check carefully for any dirt or foreign items in the rubber gasket or seal that surrounds the door opening.

Sort Laundry Clothes

  • Sorting your laundry by color and fabric type can help you get the best results. This minimizes color bleed and fabric degradation while washing.
  • Keep dark and light-colored clothing separate. Similarly, avoid rubbing and tearing, and separate delicate textiles like silk, lace, and thin materials from bulkier goods like towels and jeans.
  • Before putting clothes in the washer, check pockets thoroughly and secure zippers to keep anything from becoming tangled or damaging the drum.
  • To prevent blockages and damage, take out any tissues, coins, or tiny objects from your pockets.
  • To avoid zippers from catching on other clothing, make sure they are closed.
  • You shouldn’t stuff a washing machine drum all the way full of clothes. Inadequate cleaning, tangled clothing, and stress on the washing machine can all result from overloading.
  • Follow the capacity guidelines and leave room for movement. 

Select Detergent

  • For cleaning to be efficient without producing excessive suds or residue buildup, choosing the right detergent and utilizing the proper amount are essential. 
  • Ensure the type and quantity of the detergent you use for the type of clothes. 
  • As required, you can use a suitable fabric softener that can enhance the feel and fragrance of the clothes. 
  • As per the given instructions, dilute it with water. 
  • If your machine has a dispenser for it,  add it during the rinse cycle.

Select the Correct Settings/Mode

Three things are very important after detergent selection.

  • Wash Mode
  • Temperature
  • Program 
db9e6c146213247.62ac24e3c9e61 1

Carefully select the wash mode for your washing machine. It is recommended to read and understand your machine’s features carefully. This setting is crucial to preset because it will decide how your clothes are washed and how energy and water will be used. The other important thing is the temperature settings. The water temperature can affect your clothes. But there is a need to understand the pros and cons of the high temperature. It can remove bacteria but it can fade the colors, set stains, weaken the clothes, and in some cases shrink the garments. Similarly, the program you select can save you time and energy. Your wrong selection can end up with stained or damaged shirts. 

Each cycle has two separate speeds: the wash speed, which involves tossing clothing in water, and the spin speed, which involves spinning clothing to remove water. However, more tumbling ensures more fabric care and less tumbling assures more cleaning power.

Start, During, and After the Wash Cycle

  • When you are ready to start your cycle, ensure that you have closed the door perfectly to prevent leakage and any kind of mishap during the wash cycle. Ensure you have chosen all the correct options for a wash.
  • During the wash cycle, you can monitor the progress and ensures by seeing the control panel that everything is working perfectly fine. Do not open the door when the cycle is on. It can affect the washing process and overall machine performance. 
  • After the washing cycle is over, give the machine some time to rest. Do not open the top or front doors until you see no movement. Removing clothes immediately can save them from unwanted wrinkles and bad odors. 

Maintenance

After the wash, clean the drum interior with a cloth and ensure there is no harmful thing left behind. Similarly, clean the detergent dispenser to prevent any unpleasant happenings. 

You should keep the door open whether you have a front-load or top-load washing machine.  

Your washing machine is your asset. Kee your washing machine in good condition is not difficult. The washing machine vendors frequently hear three complaints.

  1. The washing machine kit is not working properly or it is out of order. 
  2. The rubber gasket is torn or damaged.
  3. The machine is vibrating a lot. 

Only and bit of care is needed. It is advised before installing your washing machine, ensure you have stable electricity. This electricity fluctuation causes the kit to be expired. And the vibration can be prevented with the proper installation. You can bring change to your life by doing these minor changes to your daily washing routine and enhancing the shelf life of your home appliance. 

If you are looking for a top-load or front-load washing machine, then Electro Gallery has the largest selection of premium washing machines from renowned brands. Contact us to know more about your favorite brand.